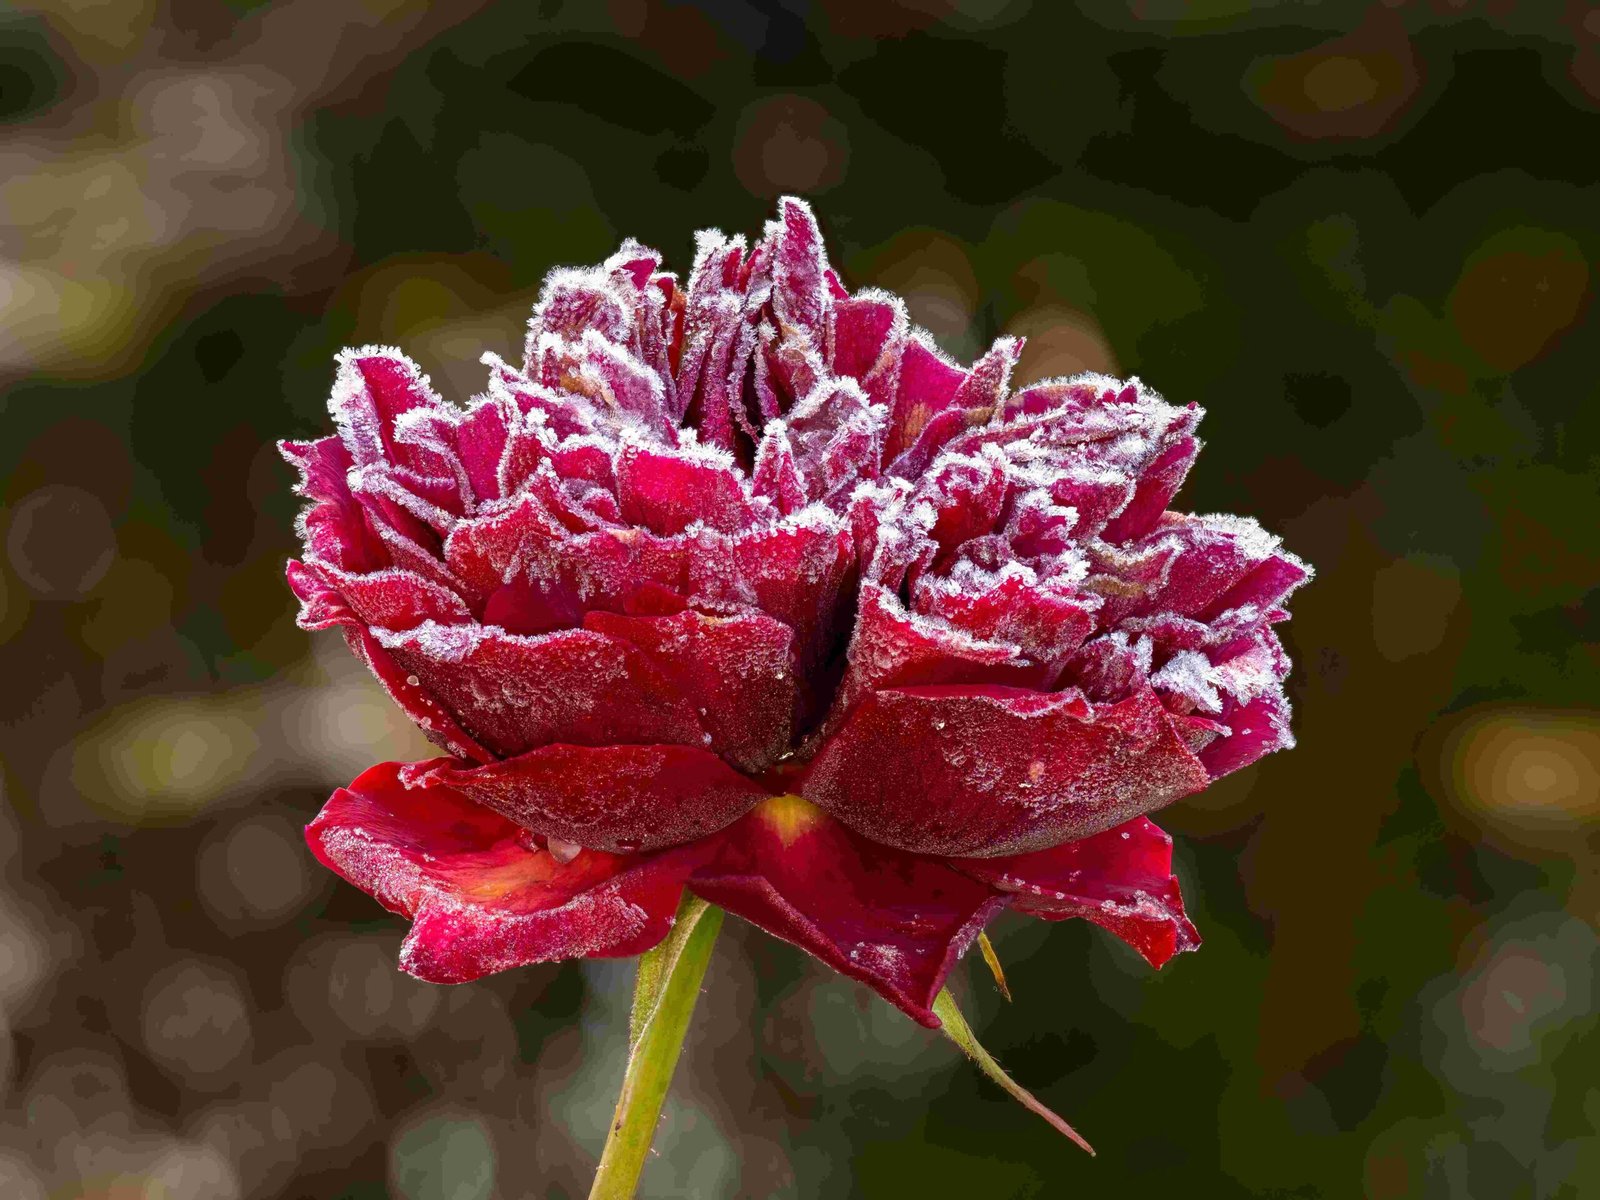
What Materials Do I Need to Make a Play Doh Rose?

To create a realistic Play-Doh rose, you will need the following materials:
- Play-Doh in your desired colors (traditionally red, pink, or white for roses, but you can use any color)
- Play-Doh in green for the leaves and stem
- Optional: Rolling pin, toothpick, or other sculpting tools
How Do I Prepare the Play-Doh for the Rose?

- Choose your desired colors for the rose. Traditionally, roses are red, pink, or white, but you can use any color you prefer. For a realistic effect, you might also need green for the leaves and stem.
- You will need a small amount of Play-Doh for each petal. A general rule is to start with small balls of Play-Doh, about the size of a pea or a little larger, depending on the size of the rose you want to create.
How Do I Shape the Petals for the Play Doh Rose?
- Take each small ball of Play-Doh and flatten it slightly into an oval shape. This will be the base of your petal. You can use your fingers or a rolling pin to flatten the dough, but be careful not to make it too thin.
- To shape the petals, use your fingers to create a teardrop or heart shape. The edges should be thin and the center thicker.
- Petals should be of varying sizes, with the outer petals being larger than the inner ones. The thickness should be such that the petals are flexible but not too fragile.
- You can add texture to the petals by gently pressing the tip of your finger or a toothpick into the surface to create veins.
How Do I Assemble the Play Doh Rose?
- Roll a small ball of Play-Doh to create the center of the rose. This will be the base around which you will attach the petals.
- Begin attaching the petals to the center ball, starting from the outside and working your way in. Use a small amount of Play-Doh to stick each petal to the center.
- Attach the larger petals first, then move to the smaller ones. Make sure to space them out evenly to create a natural look.
- There is no need for drying time between steps since Play-Doh does not dry out quickly. However, if you are using a mixture that dries faster, ensure each petal is securely attached before adding the next.
How Do I Add Leaves and Stem to the Play Doh Rose?
- Use green Play-Doh to create leaves and a stem. Shape the leaves into teardrop or oval shapes and attach them to the stem.
- While no tools are strictly necessary, a toothpick can be used to create the stem and attach the leaves.
Tips for Stability and Realism
- Ensure each petal is securely attached to the center to prevent the rose from falling apart.
- Vary the size and shape of the petals to create a natural look. Add texture to the petals to mimic real rose petals.
- Use realistic colors and shading to enhance the realism of the rose.
Reference:
1. DIY Play Dough Roses by Hand
2. HOW TO MAKE a Play-Doh rose
3. Play-Doh Rose : 4 Steps
4. How to Make a Play-Doh Rose
