What Materials Do I Need to Paint a Rose in Watercolor?

To paint a rose in watercolor, you’ll need high-quality watercolor paper, a variety of round watercolor brushes, and a selection of watercolor paints. The recommended materials include:
Paper
- Arches Hot Press or Cold Press watercolor paper for its smooth or textured surface, respectively.
Brushes
- Round watercolor brushes in sizes 6 and 8, with pointed tips for detailed petal work.
- Brands like Polina Bright Brushes or Trekell Brush Protégé 7500 are good options.
Paints
- For realistic roses: Burnt Sienna, Burnt Umber, Cadmium Red (deep and pale), Cadmium Orange, Yellow Ochre, Sap Green, Hooker’s Green, Viridian Hue, Ultramarine, and Permanent Rose.
- For simpler roses: Quinacridone rose, yellow, and greens like Sap Green and Hooker’s Green.
How Do I Sketch the Rose Outline?

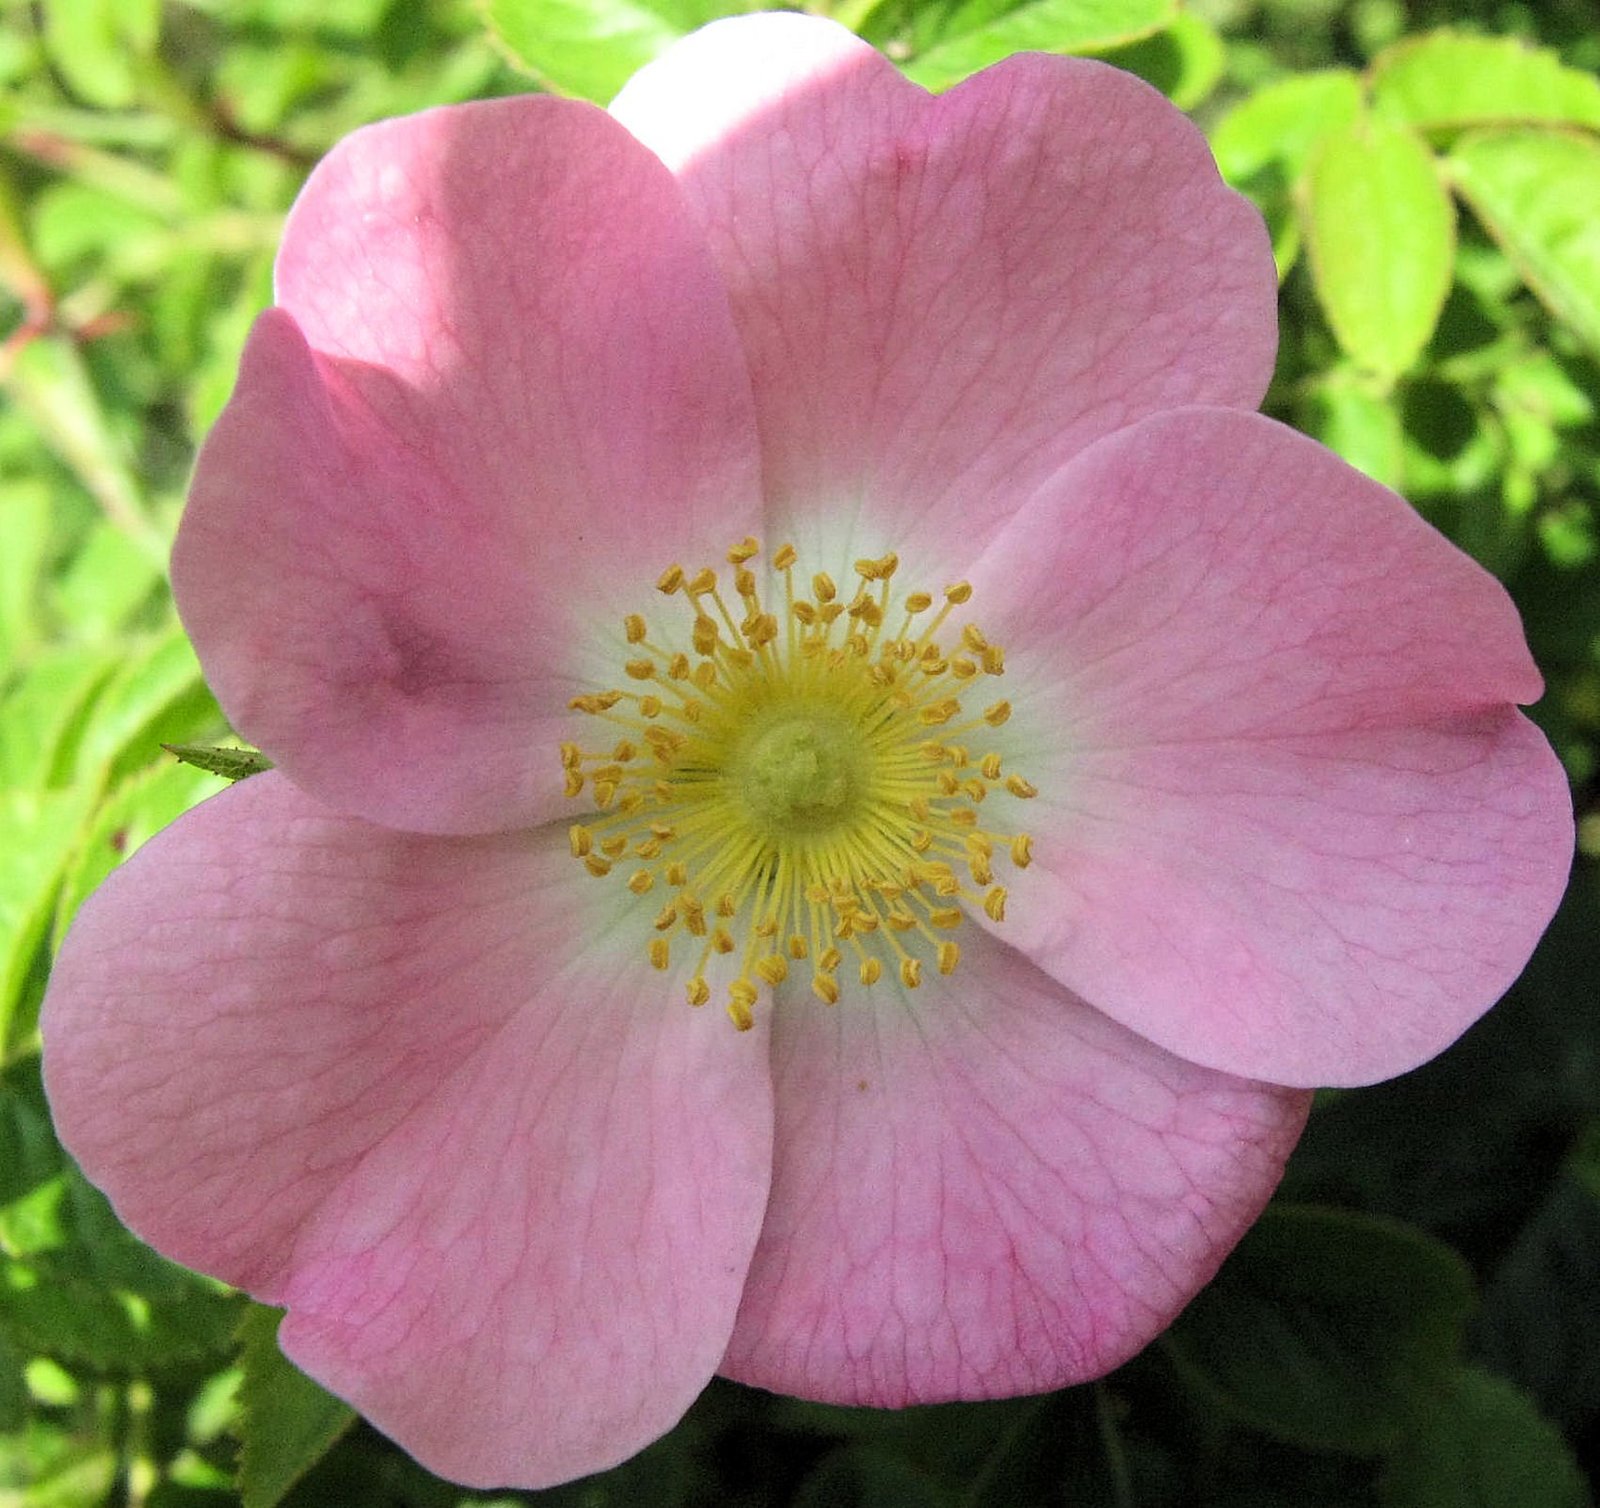
 , licensed under CC BY-SA 2.0
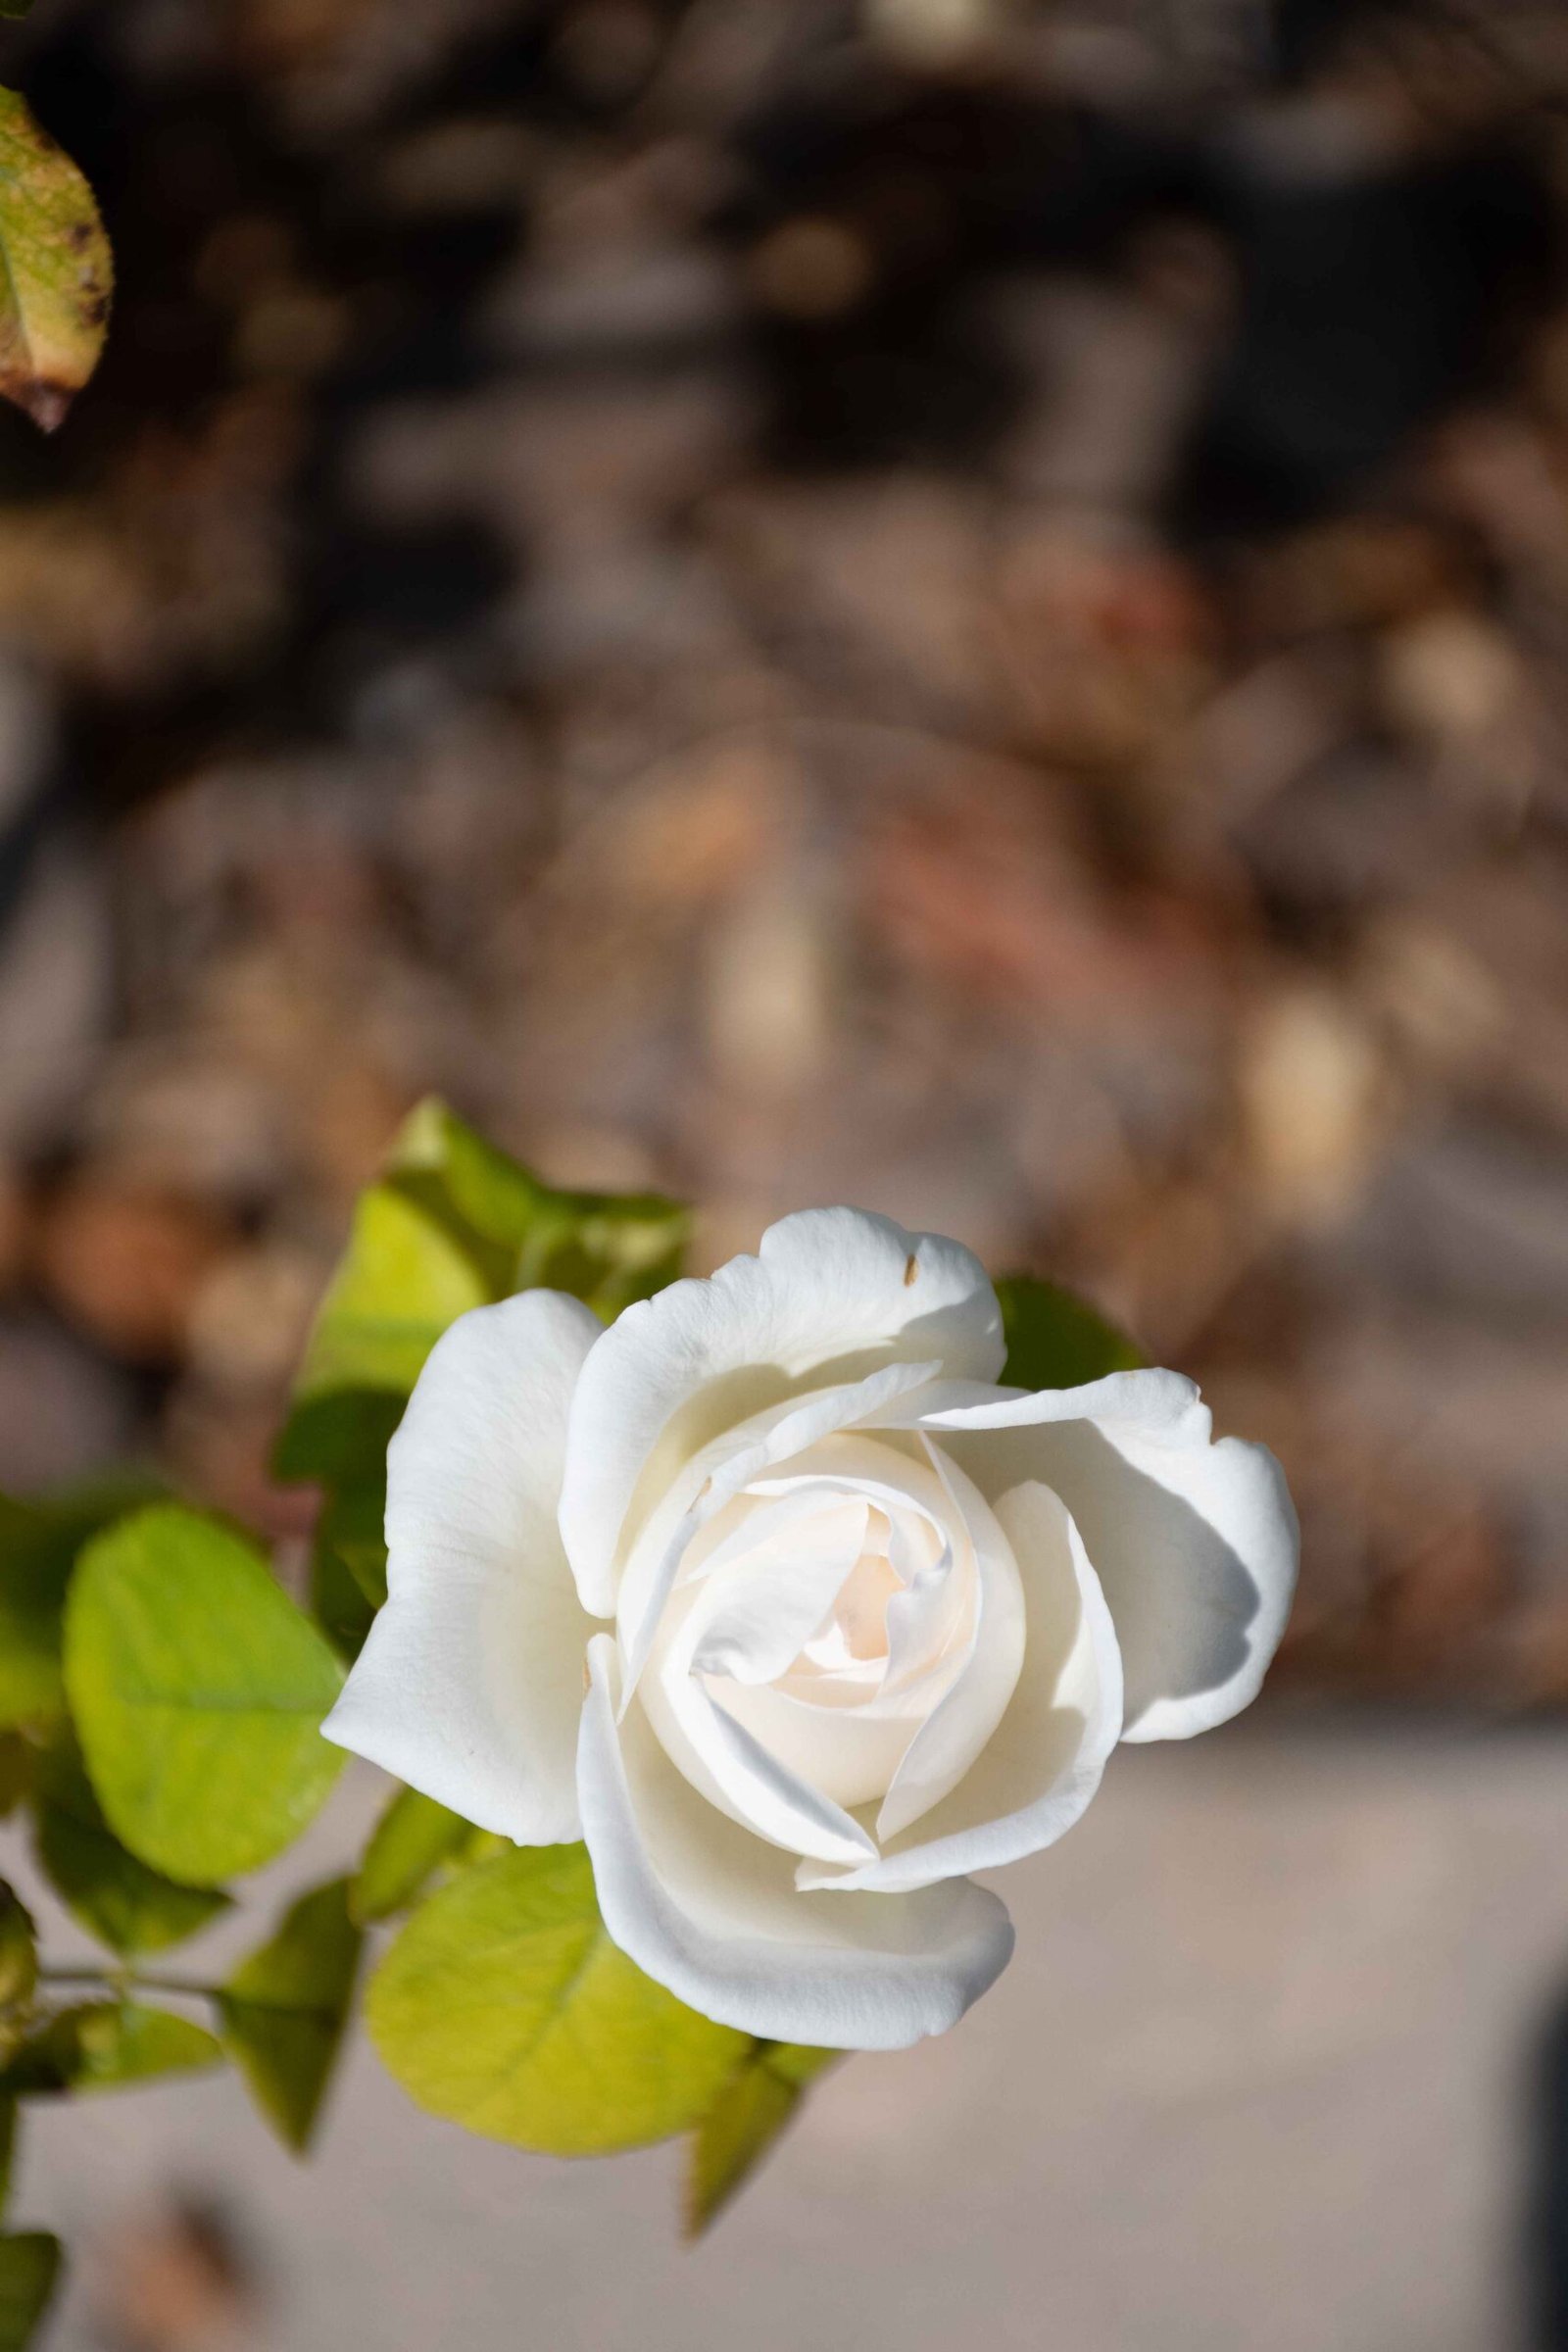
Start by sketching the rose outline on your watercolor paper. Simplify the rose into basic geometric shapes, such as a cup with smaller petals inside and larger petals outside. Use a pencil or a fine-tip pen to draw the outline.
What Watercolor Techniques Should I Use?
Technique 1: Simple Brushstrokes
- Use medium-wet brushes to paint the center of the rose with small dots and lines.
- For the petals, press the pointed tip of the brush and drag it to create the petal shape. Lift the brush to finish the petal.
- Use more water for lighter colors and less pigment for darker colors.
Technique 2: Wet-on-Wet
- Paint the rose with simple strokes and then add deeper or different colors while the paint is still wet.
- This technique allows colors to blend and flow. Use a clean dry brush to stop color bleeding if necessary.
Technique 3: Wet-on-Dry
- Paint the rose with simple strokes and let the paint dry.
- Then, add more layers of shapes and colors. This technique builds up transparent layers and can be combined with wet-on-wet for additional depth.
How Do I Achieve Depth and Texture?
Shading and Light
- Follow the tonal value rules: the upper part of the rose is lighter, and the lower part is darker. Petals are lighter at the tips and darker towards the center.
- Use reference photos to guide your shading.
Brush Strokes
- Use expressive and intentional brush strokes inspired by traditional Chinese ink and brush painting or Japanese Sumi-E painting for a more artistic look.
Color Variation
- Add color variations by using different ratios of water to paint. Use more water and less pigment for lighter petals and stronger colors as you progress downwards.
What Are Some Common Challenges and Solutions?
Color Bleeding
- To prevent color bleeding, especially in wet-on-wet techniques, use a clean dry brush to dab the spot and stop the color from spreading.
Unwanted Stains (Blooms)
- Ensure your brush is not too wet when blending colors to avoid flooding the existing wash and causing unwanted stains. Let each layer dry before adding more paint.
Maintaining White Highlights
- Leave some areas of the paper unpainted to maintain white highlights, especially on the tips of the petals where they are most exposed to light.
What Are the Recommended Drying Times and Conditions?
Drying Between Layers
- Let each layer of paint dry completely before adding more layers. This is especially important when using the wet-on-dry technique to avoid muddying the colors.
Working Conditions
- Work in a well-ventilated area and avoid direct sunlight, which can cause the paint to dry too quickly. Use a flat board and masking tape to secure the paper to prevent it from buckling.
